HOW TO REMOVE WALLPAPER: A STEP-BY-STEP GUIDE FOR A SMOOTHER REDO
Wallpaper can completely transform a room, but when it is time for a refresh, many homeowners worry that removing it will be messy, frustrating, or damaging to the wall underneath. The good news is that wallpaper removal is usually very manageable when you identify the wallpaper type first, use the right tools, and avoid rushing the soaking process. Newer strippable wallpapers can sometimes come off in full sheets, while vinyl-coated, peelable, or painted wallpapers often need a little more patience and a different approach.
Whether you are planning to repaint, install fresh wallcovering, or simply return your walls to a clean blank slate, this guide walks through how to remove wallpaper with less stress and better results.
WHY THE FIRST STEP IS IDENTIFYING YOUR WALLPAPER TYPE
Before you reach for a scraper or spray bottle, it helps to figure out what kind of wallpaper is on the wall. That one step can save a lot of time.
Some newer wallpapers are strippable, meaning they may pull away in large sheets without water or chemical remover. Some are peelable, which means the top decorative layer comes off first, but the backing still remains on the wall and must be removed separately. Vinyl-coated wallpapers are often more stubborn because the moisture has a harder time penetrating the sealed surface. Painted wallpaper can be even more difficult because the paint layer blocks moisture and makes the material more rigid and prone to tearing.
A simple test is to lift a corner at a seam with a putty knife. If it peels back easily and continues to release, you may have strippable wallpaper. If only the surface layer comes off, you are likely dealing with peelable wallpaper. If it resists lifting altogether, you may need to score and soak it.
TOOLS YOU MAY NEED

You do not always need every tool on this list, but these are the most commonly recommended supplies:
Drop cloths, gloves, protective eyewear, a putty knife or wallpaper knife, a wallpaper scoring tool, a spray bottle or pump sprayer, hot water, wallpaper removal solution, sponges or clean rags, and a scraper. For especially stubborn jobs, a wallpaper steamer can help.
If you are working around outlets and switches, turn off power to the room and remove cover plates before you begin. That extra step matters even more if you plan to use a lot of water or steam. Steamers should also be used carefully to avoid burns.
HOW TO PREP THE ROOM
Wallpaper removal can get surprisingly wet, so prep work is worth it. Cover the floors with drop cloths, move furniture out of the room if possible, and protect anything that has to stay. If you are using a remover solution, open windows for ventilation.
This part is not glamorous, but it makes cleanup much easier and helps protect floors, baseboards, and nearby furniture from sticky residue.
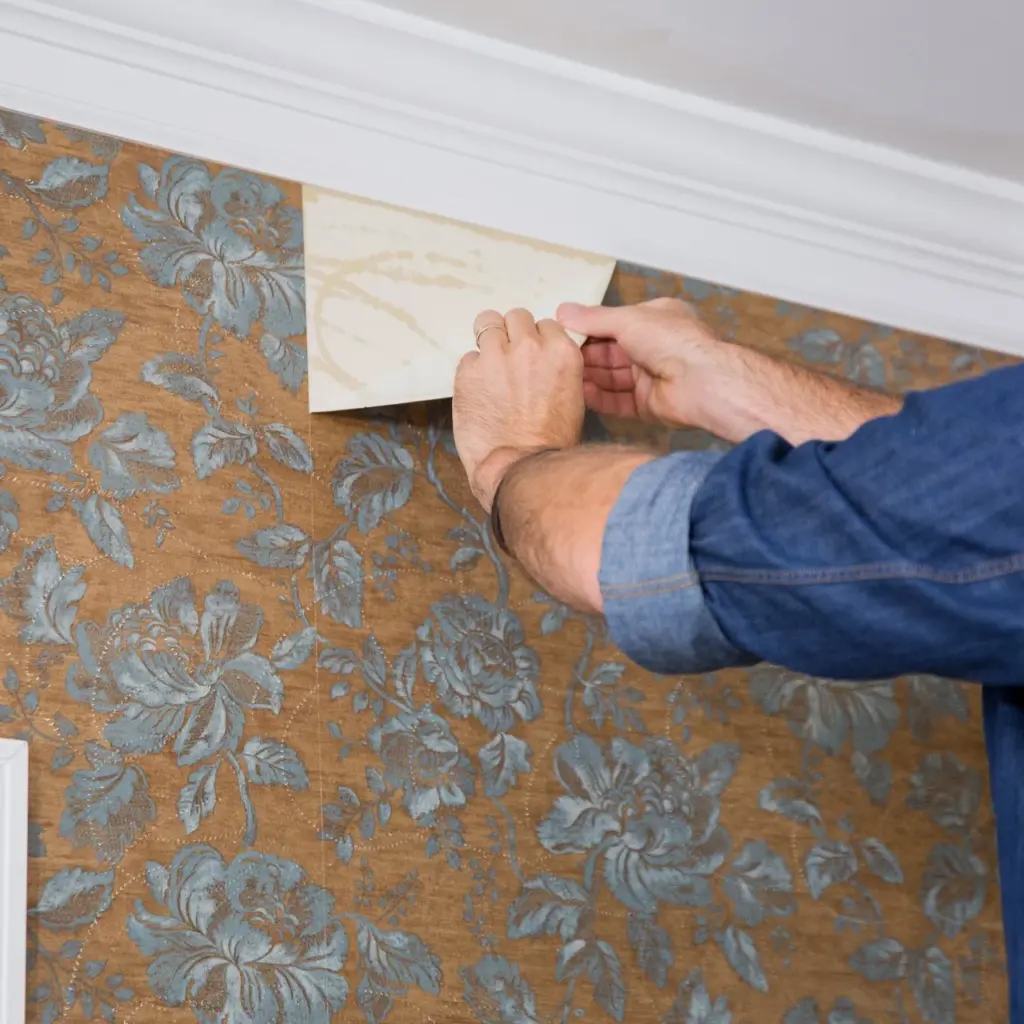
STEP 1: TRY DRY REMOVAL FIRST
If the wallpaper is newer or labeled strippable, try dry removal before adding water. Start at a bottom corner or along a seam, then pull slowly and evenly. In ideal conditions, the strip may come off in one long piece.
If the drywall face begins to lift with the wallpaper, stop. Lowe’s notes that this can happen when drywall was not sealed well enough before the wallpaper was installed. In that case, forcing the paper off can create more repair work later.
STEP 2: SCORE THE SURFACE IF NEEDED
If the wallpaper does not release easily, especially if it is vinyl-coated or washable, use a wallpaper scoring tool to make small perforations in the surface. These tiny openings allow water or remover solution to reach the adhesive behind the wallpaper. Use gentle pressure so you do not gouge the wall underneath.
Scoring is usually unnecessary for peel-and-stick or easily strippable wallpaper, but it is often essential for vinyl and other moisture-resistant finishes.
STEP 3: SOAK THE WALLPAPER
Once the wallpaper is scored, apply hot water or a wallpaper removal solution. Several current guides recommend working in sections rather than soaking the whole room at once so the paper does not dry before you are ready to scrape. York recommends working in roughly 3-foot sections, and both ROMAN and This Old House emphasize letting the solution sit long enough to do the work rather than rushing into scraping.
Common DIY mixes include hot water with vinegar or hot water with fabric softener. Home Depot currently suggests either a mixture of one-third vinegar to two-thirds hot water or one-quarter fabric softener to three-quarters hot water. This Old House demonstrates a one-to-one warm water and white vinegar mix for certain removal situations.
Most guides recommend letting the solution soak for about 10 to 15 minutes, reapplying as needed to keep the wallpaper damp. Brewster specifically notes not to rush this step because the solution should be doing most of the work for you.
If your walls are drywall, avoid over-saturating them for long periods. York warns that prolonged moisture exposure can damage drywall even though short-term dampening is usually fine.
STEP 4: PEEL AND SCRAPE
After soaking, begin lifting the wallpaper with a putty knife or scraper and pull it away slowly. Work carefully to avoid gouging the wall. If only the top layer comes off, keep going: many peelable and vinyl wallpapers leave a paper backing behind, and that backing still needs to be soaked and removed.
For older wallpaper or multiple layers, expect to repeat the score, soak, and scrape process more than once. This Old House notes that older homes may have several layers, which can make removal slower but still doable with patience.
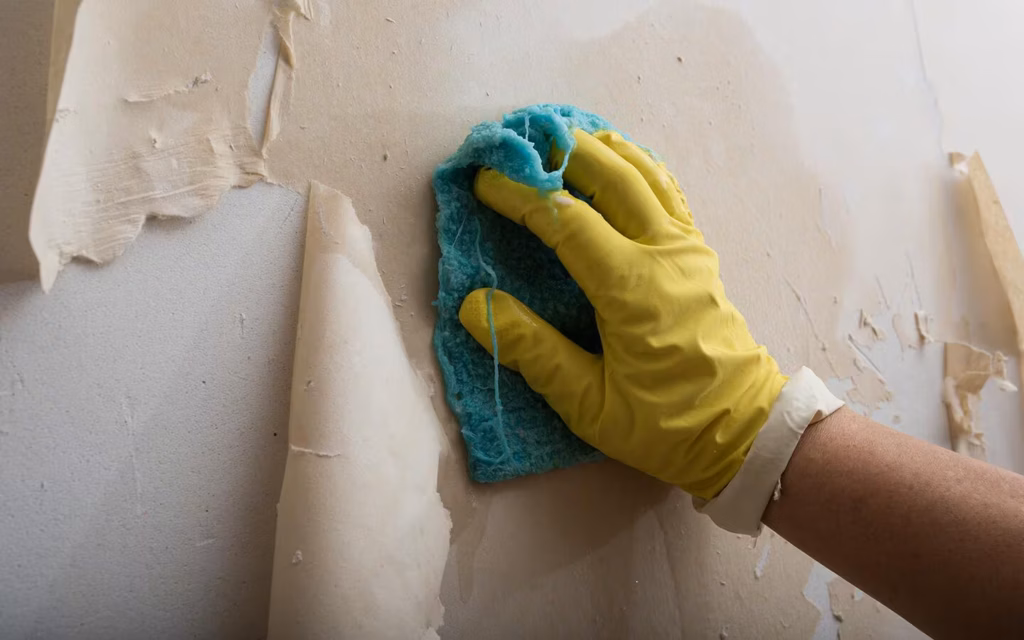
STEP 5: REMOVE THE GLUE
One of the biggest mistakes in wallpaper removal is stopping after the paper comes down. Any adhesive left on the wall can interfere with primer, paint, or new wallpaper, and it may show through the finished surface. Brewster, York, Home Depot, and This Old House all recommend cleaning off residual paste after removal.
Warm water and a sponge may be enough for light residue. York suggests warm water and dish detergent, while Home Depot recommends cleaning and removing excess adhesive before patching and finishing the wall.
This is the step that helps your wall look truly finished instead of “mostly stripped.”
WHEN A STEAMER MAKES SENSE
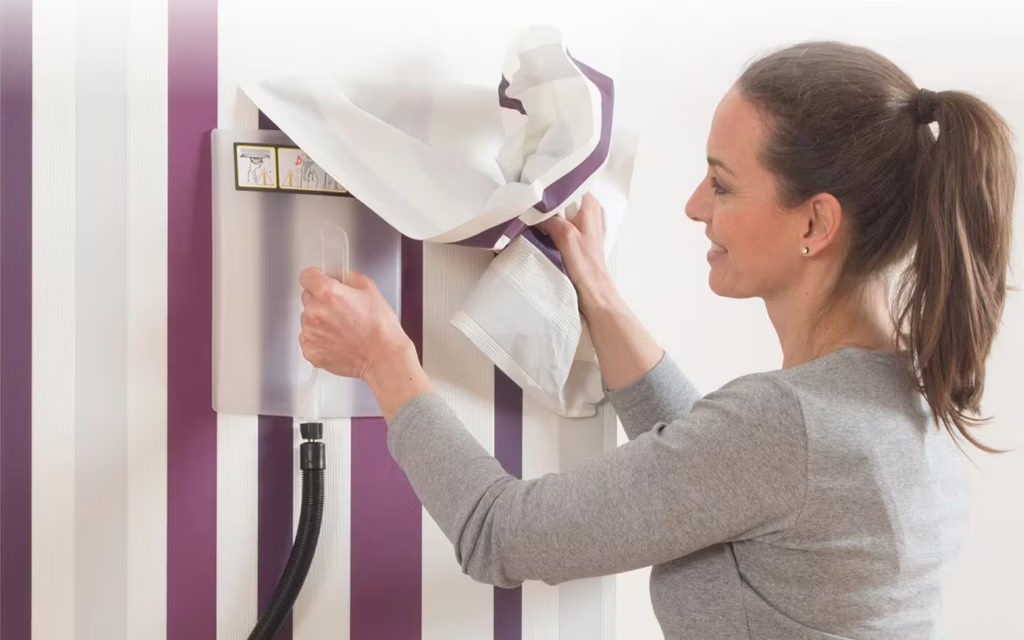
For particularly stubborn wallpaper, a steamer can help loosen adhesive faster. Home Depot notes that rental steamers can remove many wallpaper types using only water, and scoring the wallpaper before steaming can speed up the process. The same guidance also warns users to consult the operating manual, stay away from electrical outlets and switches, and protect against burns.
Steamers can be very effective, but they are best used thoughtfully. Too much heat or moisture in one spot can make cleanup messier or create wall repairs you did not start with.
SPECIAL CASES: VINYL, NON-WOVEN, GRASSCLOTH, AND PAINTED WALLPAPER
Not all wallpaper behaves the same.
Vinyl wallpaper usually needs scoring because the surface blocks moisture from reaching the adhesive layer.
Non-woven wallpaper can sometimes be one of the easiest types to remove, especially when installed with a strippable adhesive. ROMAN notes that non-woven wallpaper installed with the proper adhesive may come off without damaging the walls.
Grasscloth typically needs wallpaper remover to break the bond between the wall and the material, and ROMAN recommends keeping the remover active for about 15 minutes, re-spraying so it does not dry out.
Painted wallpaper is often the most frustrating because paint seals the surface, making it harder for moisture to penetrate. This Old House recommends extra care, along with scoring, remover solution, and sometimes steam, when tackling painted wallpaper.
HOW TO PREP THE WALL AFTER REMOVAL
Once the wallpaper and glue are gone, let the walls dry thoroughly. If there are nicks, gouges, lifted drywall paper, or uneven patches, repair them before moving to paint or new wallcovering. Home Depot recommends using spackle or sandable filler for damage, while Lowe’s notes that lifted drywall paper may need to be glued down, patched, sanded, and sealed before refinishing.
This finishing stage matters just as much as the removal itself. Even beautiful new wallpaper can only look as good as the surface underneath it.
FINAL THOUGHTS
Wallpaper removal is one of those projects that feels intimidating before you start, but it becomes much more manageable once you understand what is on the wall and how it is meant to come off. The easiest jobs are often newer strippable or non-woven wallpapers, while vinyl, peelable backings, older installations, and painted wallpaper usually take more soaking, more scraping, and more patience.
The real secret is not brute force. It is working in sections, keeping the wallpaper properly saturated, cleaning off the leftover adhesive, and taking your time. Do that, and your walls will be in much better shape for whatever comes next.
SOCIAL MEDIA & DESIGN INSPIRATION
Looking for more wallpaper ideas, decorating inspiration, and fresh looks for every room? Follow Wallpaper Wholesaler on social media to explore beautiful patterns, trending styles, new arrivals, and creative ways to use wallpaper throughout your home or business.
Our social channels are a great place to discover statement walls, classic prints, textured designs, and designer favorites that can help inspire your next project. Whether you are updating one room or planning a larger makeover, we are here to help you find the right wallpaper for your space.
You can also shop directly on our website for a wide selection of wallpaper and wallcovering styles, from timeless designs to bold modern looks.
Shop Wallpaper Wholesaler: https://www.wallpaperwholesaler.com/
Follow Us for Inspiration:
Facebook: https://www.facebook.com/wallpaperwholesaler/
Instagram: https://www.instagram.com/wallpaperwholesaler/
Need help choosing the right wallpaper? Contact us:
Phone: 888-305-8020
Email: sales@wallpaperwholesaler.com